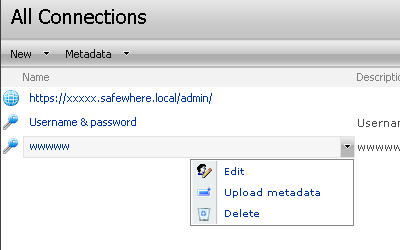
Setting up the configuration data for a connection can be a complicated affair where much care has to be made in setting the correct values in each parameter. There is although a simpler method, namely importing these values to the connection. If you have a file with the settings or know the URI where the settings can be extracted from, simply open the right-click menu of the SAML2.0/WS-Federation connection on the connection list and choose “Upload metadata”.
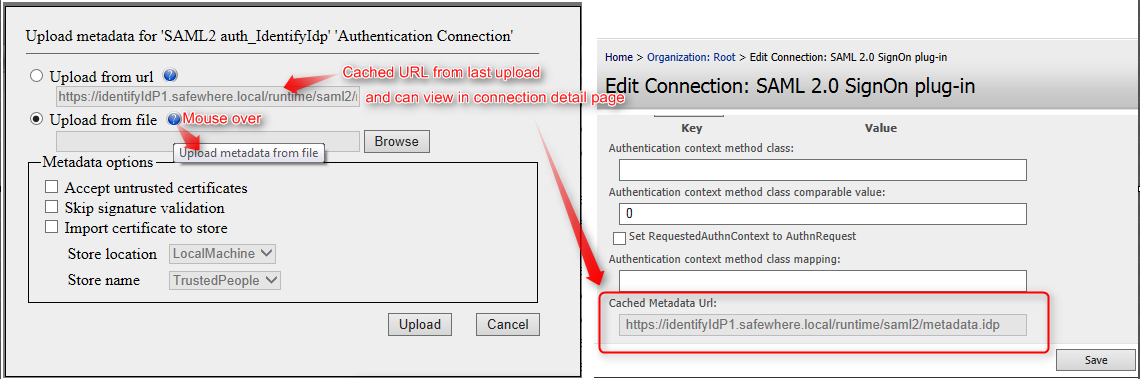
A form as below will appear.

User is able to either select “Upload from URL” or “Upload from file” to update metadata for the selected connection. The configuration settings will in both cases be automatically set.
- Upload from file: If user has a metadata file then he can use the ‘Browse’ button to locate and it it.
- Upload from URI: User can select this option and fill in URI to upload the published metadata online or on a local network. The URI value is also cached in “Cached Metadata URL” field of Connection page.
Whenever user selects an option, the fields that should not be used will be greyed out (read-only). There is also a “help” icon to describe each option in more detail.
User is also able to select metadata options to choose how strict Identify should be in validating the metadata. Validation options for the metadata:
- Accept untrusted certificates: When this option is ticked, Identify will accept that metadata includes untrusted certificates. Otherwise the upload metadata process will be fail if including untrusted certificates.
- Skip signature validation:When this option is ticked, Identify will ignore validating the signature. Otherwise the upload metadata will fail if the signature is invalid.
- Import certificate to store:When this option is ticked, user can select an appropriate store to import the certificates to, which will read from metadata to server. Use this option when the certificates, which are included in metadata, have not been imported to store yet.
- Store location: CurrentUser/LocalMachine
- Store name: TrustedPeople
User is able to either select Store location “CurrentUser” or “LocalMachine”.
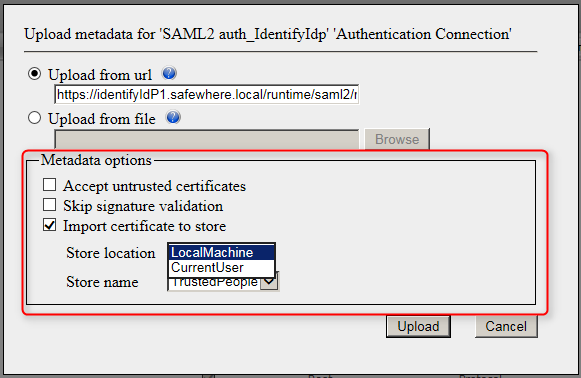
Notes: When LocalMachine is selected, the upload metadata will fail and an “Access denied” error message will be thrown if the current AppPool Identity account does not have enough privileges to import certificates to the LocalMachine store.
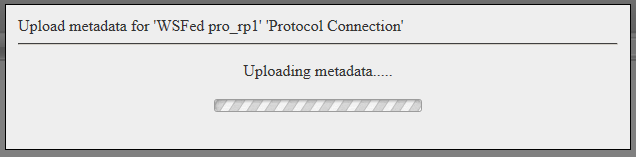
After clicking the “Upload” button, another form with Progress Bar will be displayed to show that Identify is processing the request (getting metadata/validating).
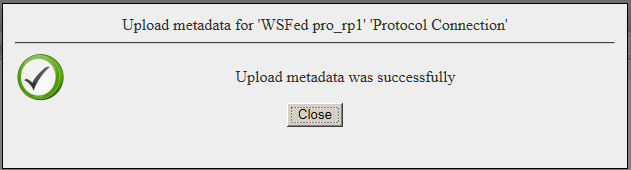
When the upload is successful, the system will display a message similar to the one illustrated below.
If any error happens during the upload progress, the system will send display details of the error to the user. The user can then either click “Back” to go back to the main form and change the settings for the upload, or click “Cancel” to close the error form and go back to Connection List page.
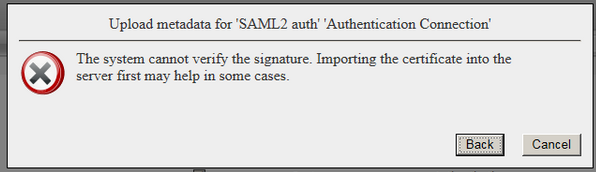
Errors might occur:
- Unreachable metadata endpoint (Upload from URL)
- Untrusted certificate (if not accept untrusted)
- Access denied (if user does not have enough privileges to import certificates to the LocalMachine store).
- Failed signature validation (if signed)
- Metadata file misses elements.
- Invalid metadata file, e.g: invalid metadata format, import to wrong connection type/subtype.
- EntityID was already used in another connection which has same type and subtype.